Finli is an easy-to-use payment management system for small businesses. We help you send professional invoices and collect digital payments so you can get paid faster.
Invoice generation is an incredibly manual process for most business owners – it’s easy to get lost in all the accounting language and complex systems. What should I put in my invoice? Who pays the taxes? How much are my fees? These are just a few of our clients’ questions that now get an easy answer: it’s all automated and properly planned with Finli.
Let’s see how you can create an invoice in minutes, send it to a customer, and get paid.
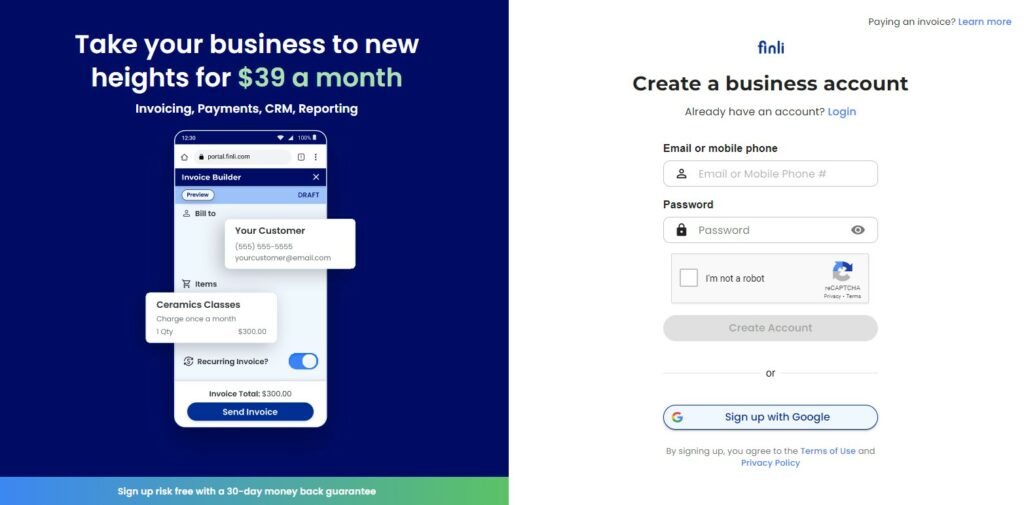
STEP 1: Log into Your Finli Account
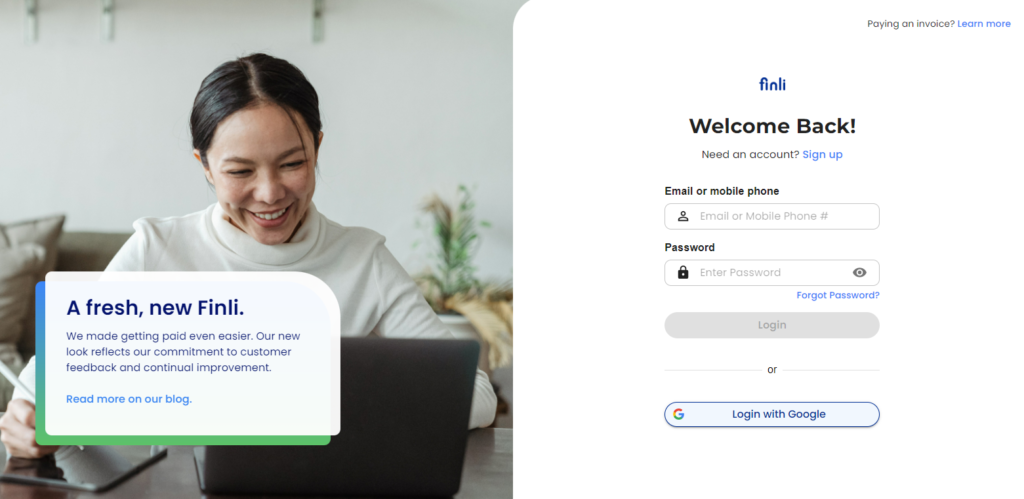
If you haven’t signed up for Finli, it’s time to create your business account. Setup is fast and you can send an invoice as soon as your account has been verified.
Finli costs just $39/month, no additional fees or “surprises”.
STEP 2: Gather Information
To send your first invoice with Finli, you’ll need the following information:
- Company name and contact information – you will input these details when you first create your Finli account.
- Client’s name and contact information – you can send an invoice to either their email address or phone number!
- Dates – set both a due date and a statement period to show the dates of the services you provided.
- Goods / services – what are the clients paying for? You can store frequently used pricing items in Finli to make future invoicing a breeze.
STEP 3: Set up a New Customer
For each client you plan to send a bill to, create a ‘Customer’ in Finli to store their information and organize invoices. You only have to do this once for each client and then just select their profile when you create an invoice.
We love to make your life easier and get your invoice sent out in under 2 minutes.
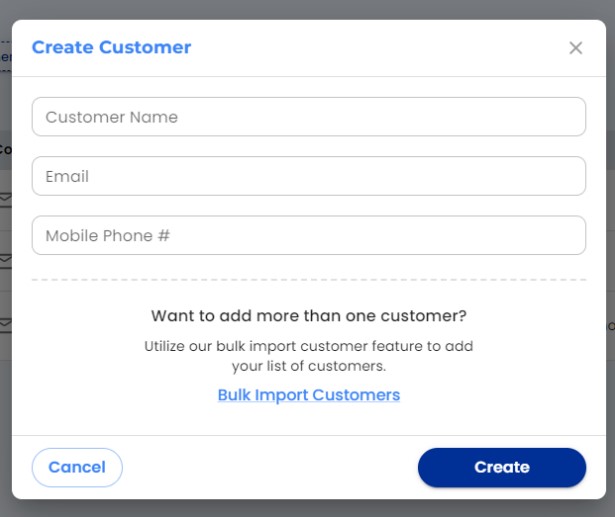
To create a customer simply add their name, email address and a phone number. We can send invoices and reminders to them either by email or SMS.
STEP 3: Create a Product (Price Item)
To save time in the future, we recommend setting up all your Price Items ahead of time. Each time you go to create an invoice, you’ll see the list of all your saved items and be able to quickly add them.

You can bill for anything: tennis lessons, marketing services, plumbing, teaching. Whatever you do, it’s easy to set up the services and then a price for each.
STEP 4: Create the Invoice in 30 Seconds
Here is the beauty of your Finli dashboard:
My client Jane Doe needs to pay for my coaching session and it takes me only seconds to create her invoice and send it.
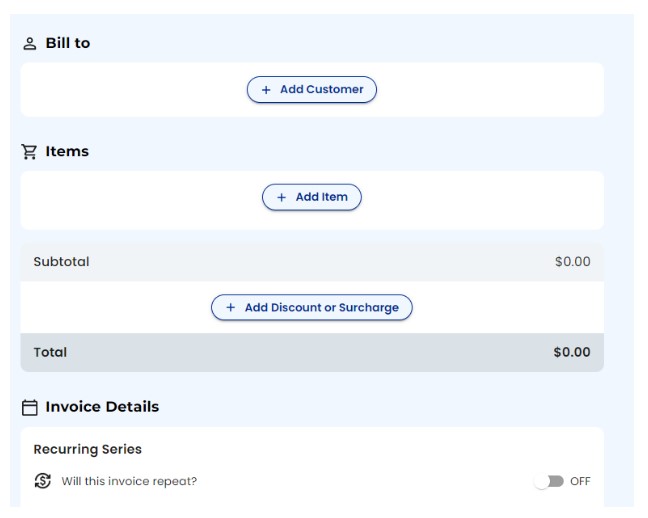
All I need to do is select the Customer I already created, select the relevant Price Items, make sure everything looks correct and click Send!
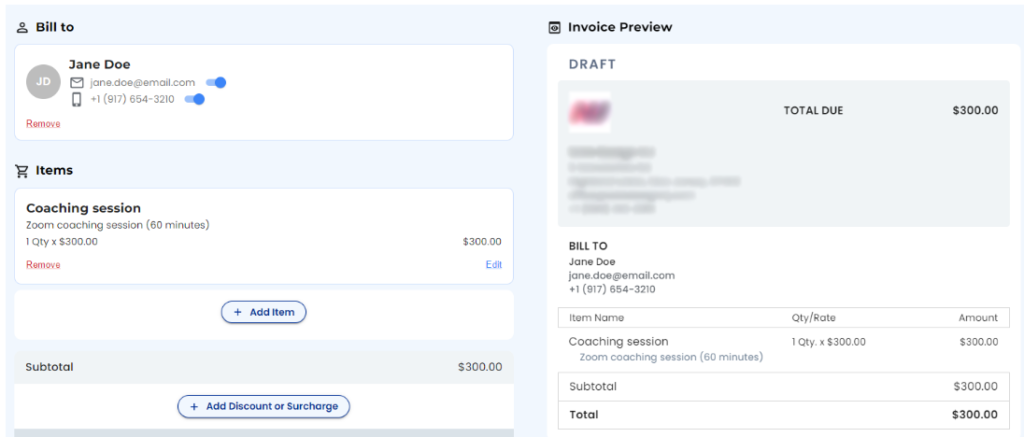
My invoice looks professional, it displays all my saved business information, and is ready to send. I can either save it as a template/draft, schedule it for a future date, make it a repeating invoice (Recurring Series), or send it to the client.
Your clients will receive a notification of their invoice, reminders before the due date, and notifications if their payment is Past Due. That way, you always get paid on time.
And that’s it.
Creating an invoice with Finli is a breeze. Try it yourself!